Sunday, April 29, 2012

HAVE faith AND BELIEVE

It's that time of year again...
upcycle and repurpose
as much as you can
while the weather is nice.

I found a large cabinet door
stuffed towards that back of my
every growing (shhh...don't tell) cabinet
door stash.

It originally was very dark
which worked out nicely because
 it was just as I had
wanted.

I sanded it down. But not too much. Just
enough to get the shine and crud off of it.
Then I slapped on some Benjamin Moore
Camo paint. Once it dried,
I gave it a quick sanding.
How to get that paint color to look green
is beyond me. It dried on the paint stick
a super nice green but not so much on my
cabinet door. It was more of a light celery color.
I have wondered more than once if it was
mixed wrong but it dried green on the stick
so now I am perplexed.
:(

So, I messed around with a few other colors.
 I had to!
I added grey and blue on the
outer edge. And sanded it
again once it was dry.

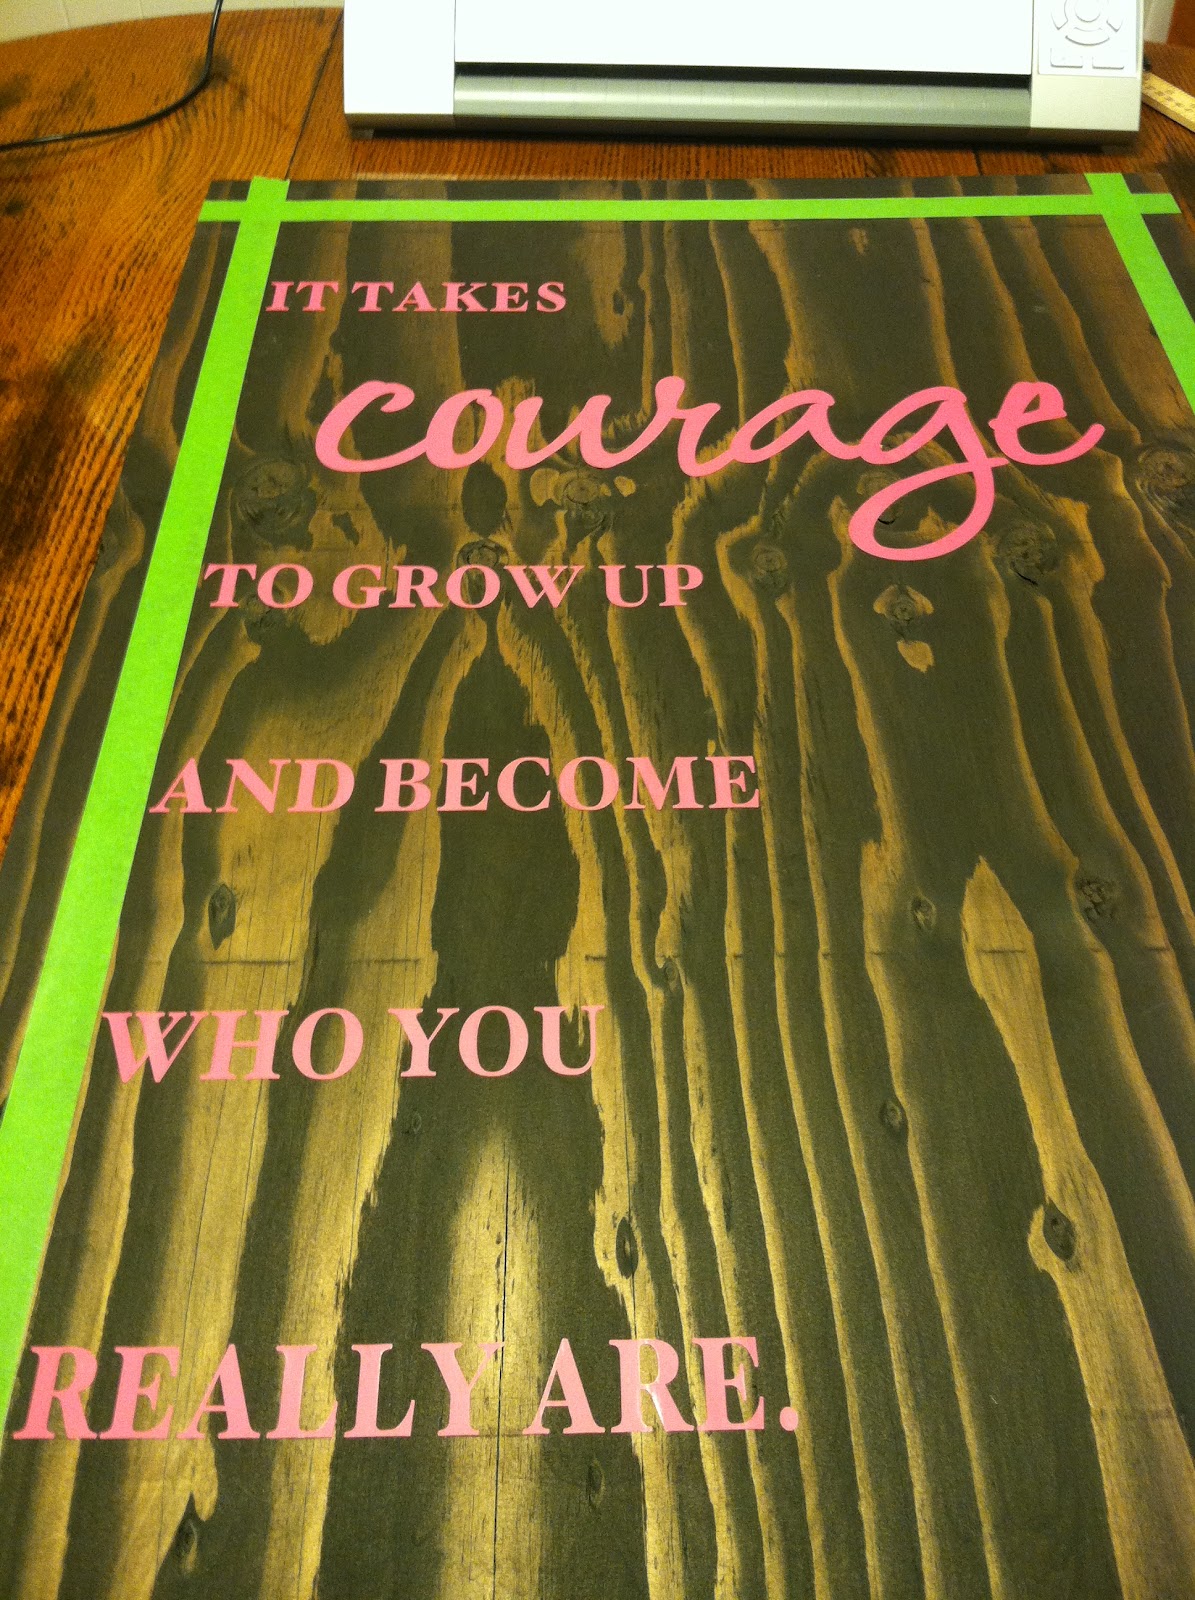
I used a previously cut
vinyl design
for the center.


And here's the beauty of it all:


I love how the paint gives off an almost whimsical,
floating, blowing, whispy appeal.
Sort of looks like the faith is blowing
to where ever it is needed.

I really like how it turned out. I took it to my space
at Marketplace 3301 yesterday.
Maybe it will make it's way into
someone's home and be loved!

Thanks for stopping by!
Carri

Linking up:


Saturday, April 28, 2012

Life isn't about waiting for the storm to pass...

Wow!
I stepped out of my comfort
zone and created a wall coat rack
using a Chevron pattern.
I took an already
white cabinet door and
spray painted it flat white because
it was glossy.


Using my Silhouette and the 
large Chevron design, I cut
 a piece of vinyl to use
as a stencil.

I placed the vinyl on the door and
painted over it with grey. I had the paint
color matched at Ace Hardware.

I peeled the vinyl off to
expose the Chevron pattern.


I pre-drilled screw holes and
added 4 round grey knobs with
white circles on them. I purchased these
at our local Habitat for Humanity
ReStore.
They were love at first sight.
I'm kickin' myself for not getting
as many as I could find.


Then...I had creator's block. I wasn't sure what I wanted to add to the center.
Or what color I wanted the vinyl lettering to be.
>_<


FINALLY...decided on a saying  and a color
and created an Up Words & On Words
vinyl design.


Life isn't about waiting
for the storm to pass.
It's about learning to
dance in the rain.


And here is how it turned out:


Can't help it but
it turned out just like I
had hoped!!

YAY!

Thanks for stopping by!

Carri


@ the following link parties:

I Heart Nap Time
It's OVerflowing


Funky Junk's Saturday Nite Special

DIY Show Off


Thursday, April 19, 2012

Why can't I see my options in posts??

Grrr...what can't I see my options when I am trying to post? I can only see the very tops of them enough to recognize what they are for. I am not a fan of this change!

Sunday, April 8, 2012

It takes courage...

After looking through a recent Lowe's Creative Ideas catalog...I convinced my hubby to take me to Lowe's. I liked a wood project that was featured but I thought I could come up with something more "me." So off we went! I had the nice gentleman there cut down a piece of plywood for me. I ended up with (3) 2' x 3' and (2) 2' x 2'.

I took a 2' x 3' and sanded it. The wood does have some knots in it but I decided to work around/with them. Hoping that somehow I could weave my way in and out, adding character along the way.

Once sanded, I used Rust Oleum's Ultimate Wood Stain in Kona and gave it a quick coat of stain.When the stain was dry, I used painter's tape and taped off a 2" boarder around the whole board. I created an Up Words & On Words vinyl design and used my Silhouette Cameo to cut it out. I placed the lettering directly on the stain.


(isn't that stain AMAZING?)

Once the vinyl was in place, I painted over it with Dark Taupe. I made sure to stay inside the
tape lines. After all...I was going for the framed/border look.


I let the paint dry and then sanded the entire painted area, vinyl included, with 220 grit sand paper. I wanted to expose some of the stain as well as the grain and knots of the wood. Not too much, but just enough. I wiped away the sandy residue and peeled the vinyl lettering and painter's tape off. This really exposed the great stain and wood grain combination. Then I added a decorative vinyl embellishment to give it a pop of color and add a little texture and uniqueness. A way to soften it up just a little. 


Here it is:


IT TAKES courage TO GROW UP AND BECOME WHO YOU REALLY ARE.

I love love love this quote. And my 33 year old self can't help but wish I had stumbled across it in my 20's. It is absolutely true. And although I never did declare a word of the year or post about declaring my word~
courage is a word that I cling to. I hold on to it as if it has the power to take me through whatever seems to create worry and consume my thoughts unnecessarily.

Courage.
Yep, I think that's my word.

Maya Angelou has said this about Courage:

"Courage is the most important of all the virtues, because without courage you can't practice any other virtue consistently. You can practice any virtue erratically, but nothing consistently without courage."
 ~Maya Angelou

And after all, we as adults know far too well how hard it is to grow up. 
And looking back, it does take a lot of courage to become who you really are.

Thanks for stopping by!
Carri


Where I'm Partying:
Keeping It Simple


Sumo's Sweet Stuff

Simple table turned FAB!

First off,
Happy Easter!
Hope today finds you happy and well,
surrounded by good friends and family
and blessings beyond measure.

Where have I been? Why the lack of posts?
Lack of projects?
Between running a home daycare, my first grader
and everyday life...I have been beyond busy.
And I have a head cold right now so that's no good!


OK.
What?
A completed project?
A post?
What?

Yep!
Finally~
once again
Finally!!

I found this table at the bargain store
and knew it was coming home with me.


*apologies for the iPhone pics but it was handy*

 I didn't really want to pay
the $15 for it very badly.
There was an identical table to this one
but it had a mirror and matching stool for
$60.
Seeing that, it kind of eased the blow of the
$15.

I sanded it down and took the VERY ugly
gold drawer pull off. That was tricky
because it wasn't screwed in to the back of the
drawer on the inside. It was actually screwed
in to a piece of wood separating the drawer and
the drawer front. Umm...yeah, that probably
sounds confusing. Let's just leave it as tricky.
=)

I stained the top with Rust Oleum's
Ultimate Wood Stain in Kona.
The can says you can apply poly in one hour,
color achieved in one coat
and enhances natural wood grain.
and let me tell you what...
it's AMAZING!
It doesn't warn you that a
love affair will begin...
BEWARE!

I painted the rest in Benjamin Moore's
Camo.
Unfortunately...the Camo doesn't look anything
like Kate's kitchen island
over at Centsational Girl.

I sanded that down and decided to give it a worn,
shabby look using more Kona stain.

I put poly on the top, the drawer front and the
long piece across the top.
And I sealed the drawer pulls with spray
sealer.
Instead of replacing the drawer pull with
one large pull, I spray painted two small
flower designed pulls and place them on
the drawer using the holes already there.

And here is how it turned out~
{LOVE IT}
and it is already sold.


(I detest the air return vent and questioned my hubby as to why they are so big and ugly)

I am guessing this was used as a
vanity because it had flat iron burn marks on the top.
But I would use it as a
tall side/end/console table.

Anyway...
what do ya think?

Thanks so much for stopping by!
Carri


Partying at the following:


UndertheTableandDreaming


Sumo's Sweet Stuff