
Alrighty then...I suppose I should build a bridge and get over it. Can't control it and I certainly can't change it. In yesterday's post I revealed a LAUGH sign as part of my DIY wall decor so here is how I did it.
I started with a cabinet drawer door:

approximately 15" long by 6" tall
I painted the center with a blue mixture that I made by adding all kinds of whatever colors I had. Very professionally done! =)

I used Burnt Umber craft paint and dry brushed over the blue. And added a few brush strokes to the wood as well.

I created LAUGH and cut it in brown vinyl using my Silhouette. Since I was using LAUGH as a stencil, I also cut LIVE and LOVE to go vertically on each end piece. I had planned to use those words in vinyl form to create some texture. But I decided not to use them in the end. They can always be added.
I transferred laugh using transfer tape. I "eye"balled the placement. I usually am a stickler on measure, measure, measure but I didn't this time. Sometimes ya just know. ;)
I used a warm damp rag and rubbed it across the transfer tape. This helps release the transfer tape. I removed the transfer tape. And added a light coat of SW's Divine White. I then peeled the vinyl lettering off.


See the blue with subtle streaks of brown??
LOVE.
I lightly sanded it and had intended to "stain" it using a mixture of Burnt Umber and water. That didn't work so well. When I went to rub it off...it took the DW paint with it. :( Oh well. Improvise right?? So I got out some Minwax Bombay Mahogany stain and wiped it on and off. I'm not so sure I like how it turned out though. It can always be sanded and re-painted! =)

And here is how it turned out:
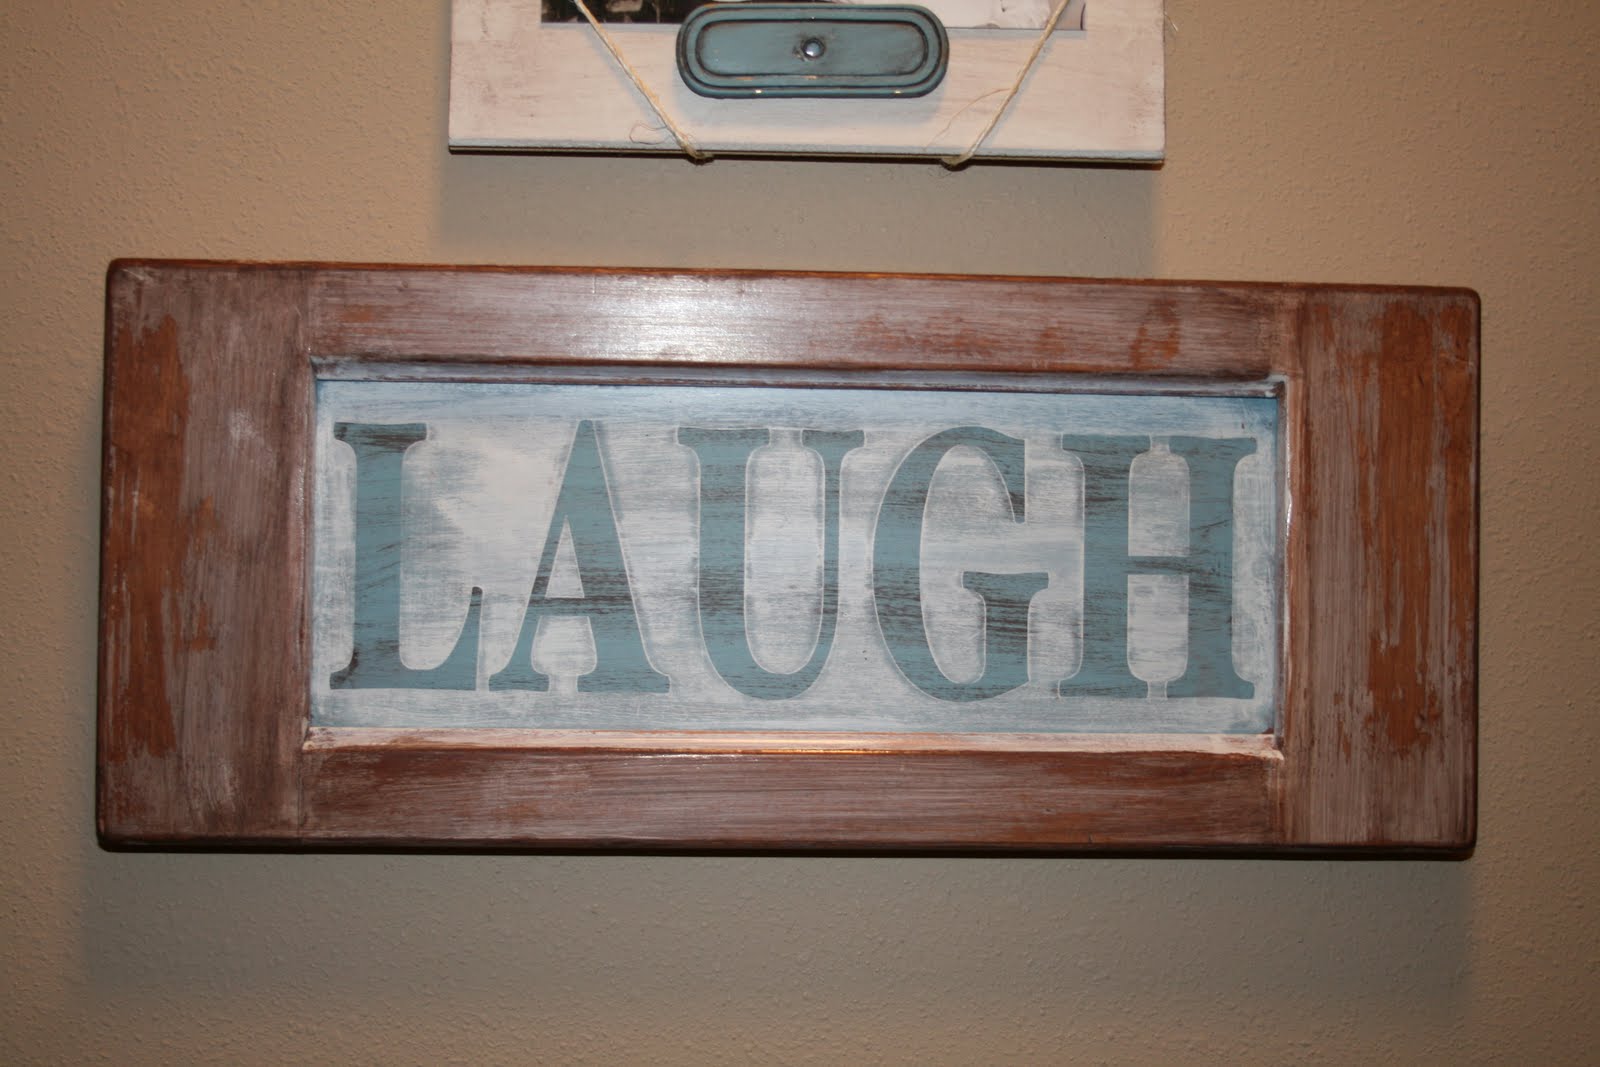


Still not real sure I like the outer part, wood color and all. But it will work for now!
Stop by these blogs today!
Tuesday:
Handmade Projects @ Tip Junkie:
Running With Glitter Link Party @ Running With Glitter:
Tuesday Glam Party @ Giggles, Glitz & Glam:
Anything Goes Party @ Type A Decorating:
Wednesday:
Whassup Party @ Elements Interiors
Saturday:
SNS #79 @ Funky Junk Interiors:
Thanks for stopping by! Have a great day!
Be sure to follow me and see what's to come!
Carri
love that you used a cabinet front for this, great job. thanks for partying at Type A!
ReplyDeleteLove it Carri!
ReplyDeleteLove the sign!! i always wanted to do this but still looking for the vinyl :)
ReplyDeleteyou're so creative, love it!
Susan @ http://tea-diary.blogspot.com